

How To Install Round Balusters
Removing one-time wooden balusters and installing new wrought fe balusters is a very unproblematic process. Nigh uncomplicated remodel jobs can be completed in a single day. If you run into whatever problems using this pace by step guide, delight email us via the contact page.
Tools Required
- Drop Textile
- Reciprocating Saw (or jig saw)
- Pliers
- Drill & Drill Bit
- Record Measure
- Portaband Saw (or chop saw)
Products Required
- Balusters
- Shoes (if you are using them)
- Epoxy (not-drip, clear dry out)
- Epoxy Gun
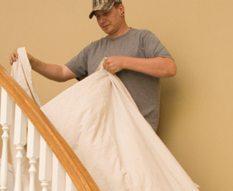
Pace 1 – Preparing the work area.
Cover all work areas, furniture and decor to protect from the sawdust that will be created when cutting the wood balusters.
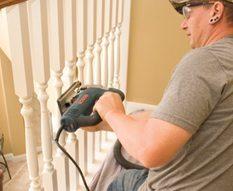
Step two – Cut Old Balusters
Using the Reciprocating Saw or Jig Saw, cut the wood balusters in half.
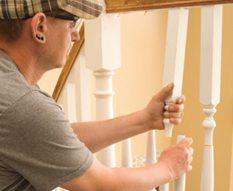
Step iii – Remove Old Balusters
One time cut, remove the balusters by slowly pushing them back for forth until the nails are worked loose. If nails are left hanging out, use the pliers to wiggle them out.
** If your old wooden balusters are installed with a Dowel Pin and glue, there is a proficient gamble you tin can break off office of the tread or handrail along with the baluster. You tin can endeavour to cut as close to the terminate of the baluster as possible and then grind the balance off to leave a smoothen surface, or you can replace the handrail / tread. **
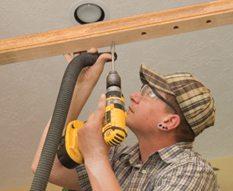
Step 4 – Drilling Holes
This applies if you don't already accept holes from your wooden balusters.
Drill an advisable size pigsty for your balusters tiptop and bottom. (If you don't want to use shoes to hibernate leftover gaps with square balusters, y'all can use a mortising scrap and punch out a square hole instead.)
Drill 1 inch to 1.five inch deep upwardly into the handrail. Drill 1/iv inch to ane/ii inch into the tread / flooring. (Use your best judgement as you should know the material you are installing into.)
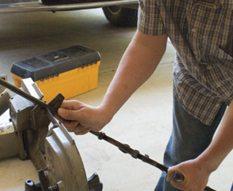
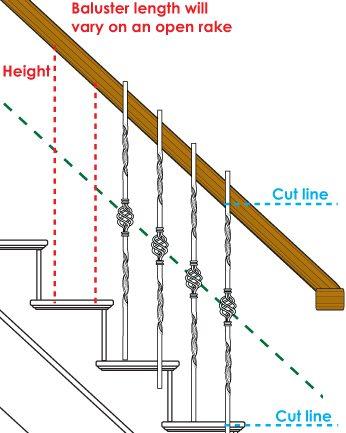
Step five – Cut Iron Balusters to Size
Measure out and cut your balusters 3/4″ longer than the distance from the bottom of the handrail to the meridian of the base (tread/floor). This gives you enough room to slide the baluster up into the rail and and then drop it down into the hole. A Portaband saw or chop saw with metal cutting blade are the best methods to cut wrought iron balusters.
Depending on where you want your pattern to line up, y'all may cut all from one side or cut some from both sides.
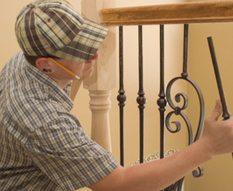
Footstep 6 – Insert Fe Balusters
If y'all are using shoes, Add them from step vii and then insert the iron balusters into the holes.
Slide your balusters into identify. Brand sure your blueprint is correct and everything lines upwards.
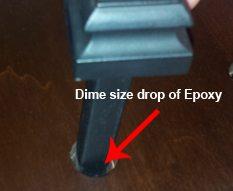
Step 7 – Base Shoes
If using shoes, slide your shoes on now. Apply about a dime size drop of epoxy in the top and bottom holes. Subsequently the epoxy has dried, slide the shoes into identify and epoxy them likewise with just a little dab. Alternatively if your shoes have set up screws, you tin can tighten the screw at this point. Allow up to 24 hours for the epoxy to fully dry.
(Nosotros recommend e'er using epoxy for the shoes, as on some hammered products the shoe can announced to leave a larger gap on one side, while with epoxy you can evenly infinite the shoe around the bar.)

Source: https://cheapstairparts.com/how-to-install-iron-balusters/
Posted by: grofffeeinesell.blogspot.com
0 Response to "How To Install Round Balusters"
Post a Comment